Project-level Custom Flow
Configure custom flows for all environments within a project.
Project-level custom flows allow you to configure multiple custom flows for all the environments under a project or a project's hierarchy.
Overriding Local Custom FlowTo configure the custom flows override policy go to the organization settings page, go to POLICIES tab and choose either:
Project custom flows will override template custom flow- Project-level custom flows will override any existing custom flows configured for the environment. If there are no custom flows in the project's hierarchy we will run the environment's custom flow.Merge project custom flows with the template custom flow- Project-level custom flows will be merged with existing environment custom flow. The environment's custom flow will run after the projects' custom flows.The default value for new organizations is to merge custom flows.
Use cases to configure per project
- Access control - Control access to the custom flow file using a separate repository with different permissions from the IaC repository, and prevent developers from modifying the custom flow.
- DRY - Re-use the same custom flow across multiple environments.
Handling multiple custom flows
The way we handle multiple custom flows is by merging them into one custom flow. The steps will run according to their order in the hierarchy meaning a parent project's custom flow step will run first, then a child project's step will run and then the environment's custom flow step (If we are running with merge policy).
You can change specific steps' order by using the new executeAfterChild property in the custom flow step. Using it you can configure a certain step in the parent to run after all the children finish.
To easily understand what custom flows will run for a deployment you can see the merged custom flow file in the loading spec file step logs.
Setting up custom flows execution order
To decide in what order custom flows will run, you can go to the project's custom flows table in the policies tab and reorder them however you want by dragging and dropping them. Pressing the save button will persist the new order.
You can also have finer control by using the new executeAfterChild property of the custom flow file. Setting that value to true will make the step run only after all the child executions finished (sub project's or the environment's custom flows)
How to configure
-
Select the project which you like to configure from the projects list
-
Go to Project Settings -> Polices
-
Under Project Policies section
-
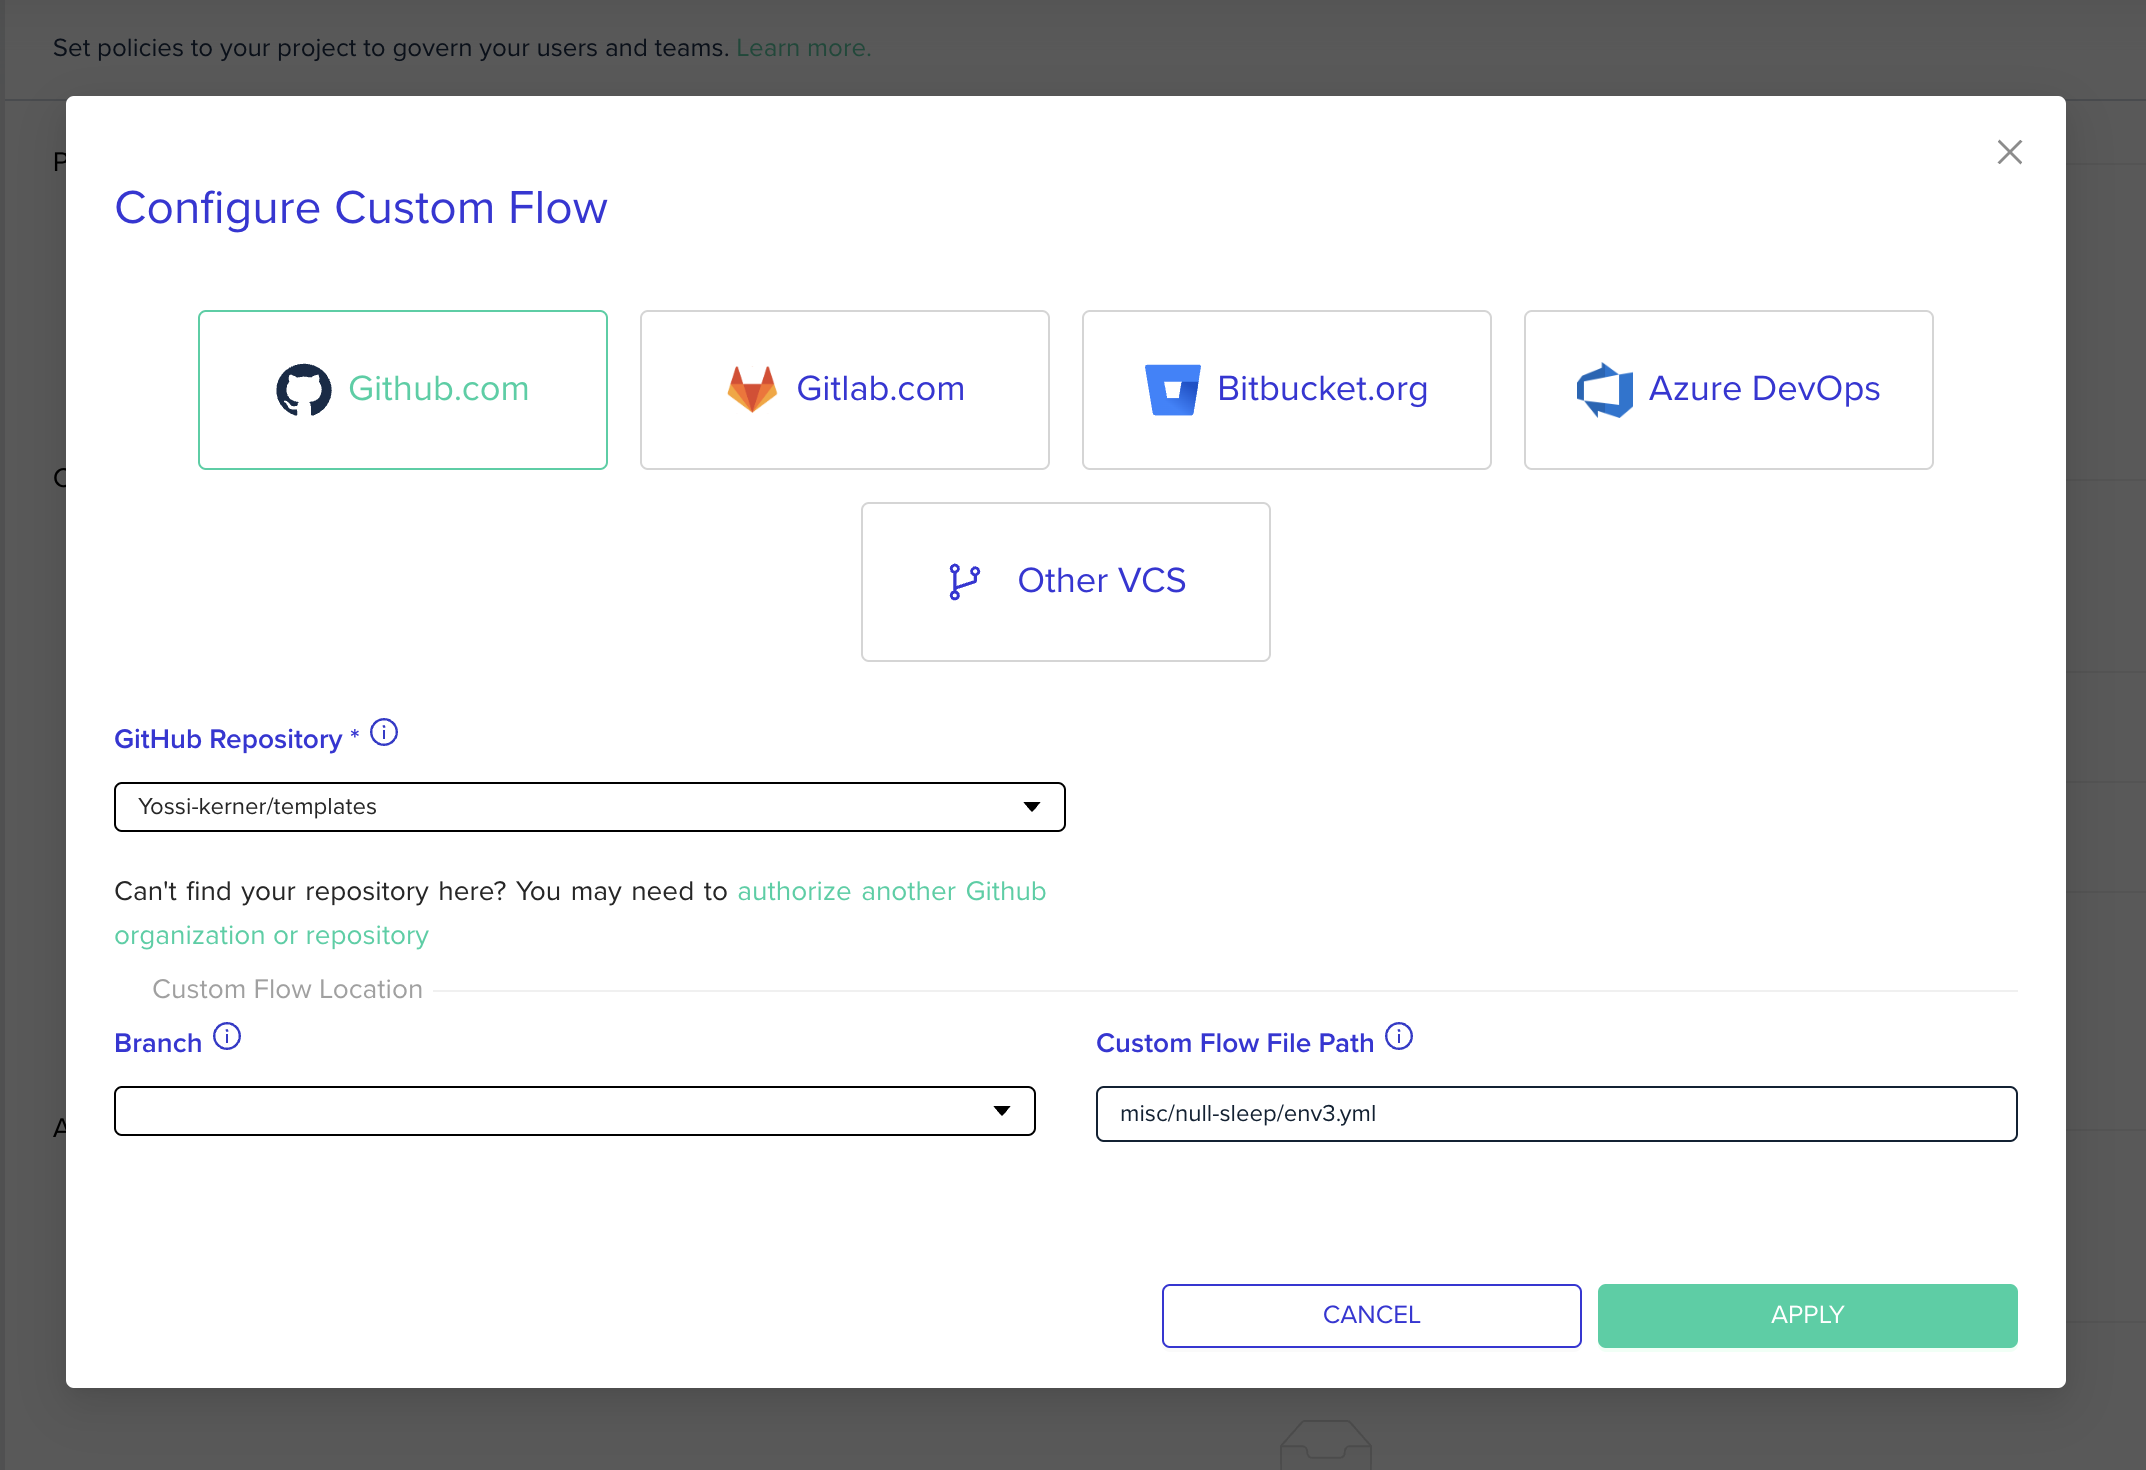
Click + Add Custom Flow to configure VCS details.

-
Choose VCS type, repository, file path, revision. The file path should be a full path to the custom flow with the supported suffexes (
.yml/.yaml).
-
Click update to close the popup
-
Click Save to apply changes
Custom Flow File Validationenv0 validates the custom flow file in the following cases:
- When you add the custom flow under project policies.
- Before you run a deployment.
If the file is invalid, you cannot continue and must fix the file.
Examples for custom flows
Run OPA with policy in another VCS
This example policy will calculate how many null-resource's have been changing. It will fail when it is bigger than 2. In addition, we can see that custom flow takes the rego file from an external repository.
version: 1

deploy:
  steps:
    setupVariables:
      after:
        - curl -L -o opa https://openpolicyagent.org/downloads/v0.46.1/opa_linux_amd64_static
        - chmod 755 ./opa
        - git clone https://[email protected]/env0/templates.git external-repo

    terraformPlan:
      after:
        - terraform show -json .tf-plan >> tfplan.json
        - ./opa eval --format pretty -i tfplan.json -d ./external-repo/custom-flows/opa-polices/null-resource.rego --fail "data.resource.limit.allow = true"
✏️ Suggested Blog Content
Updated 13 days ago
