Provider Registry
env0 Provider Registry
The env0 Provider Registry is a private registry for Terraform providers, allowing you to privately share and reuse Terraform providers within your organization.
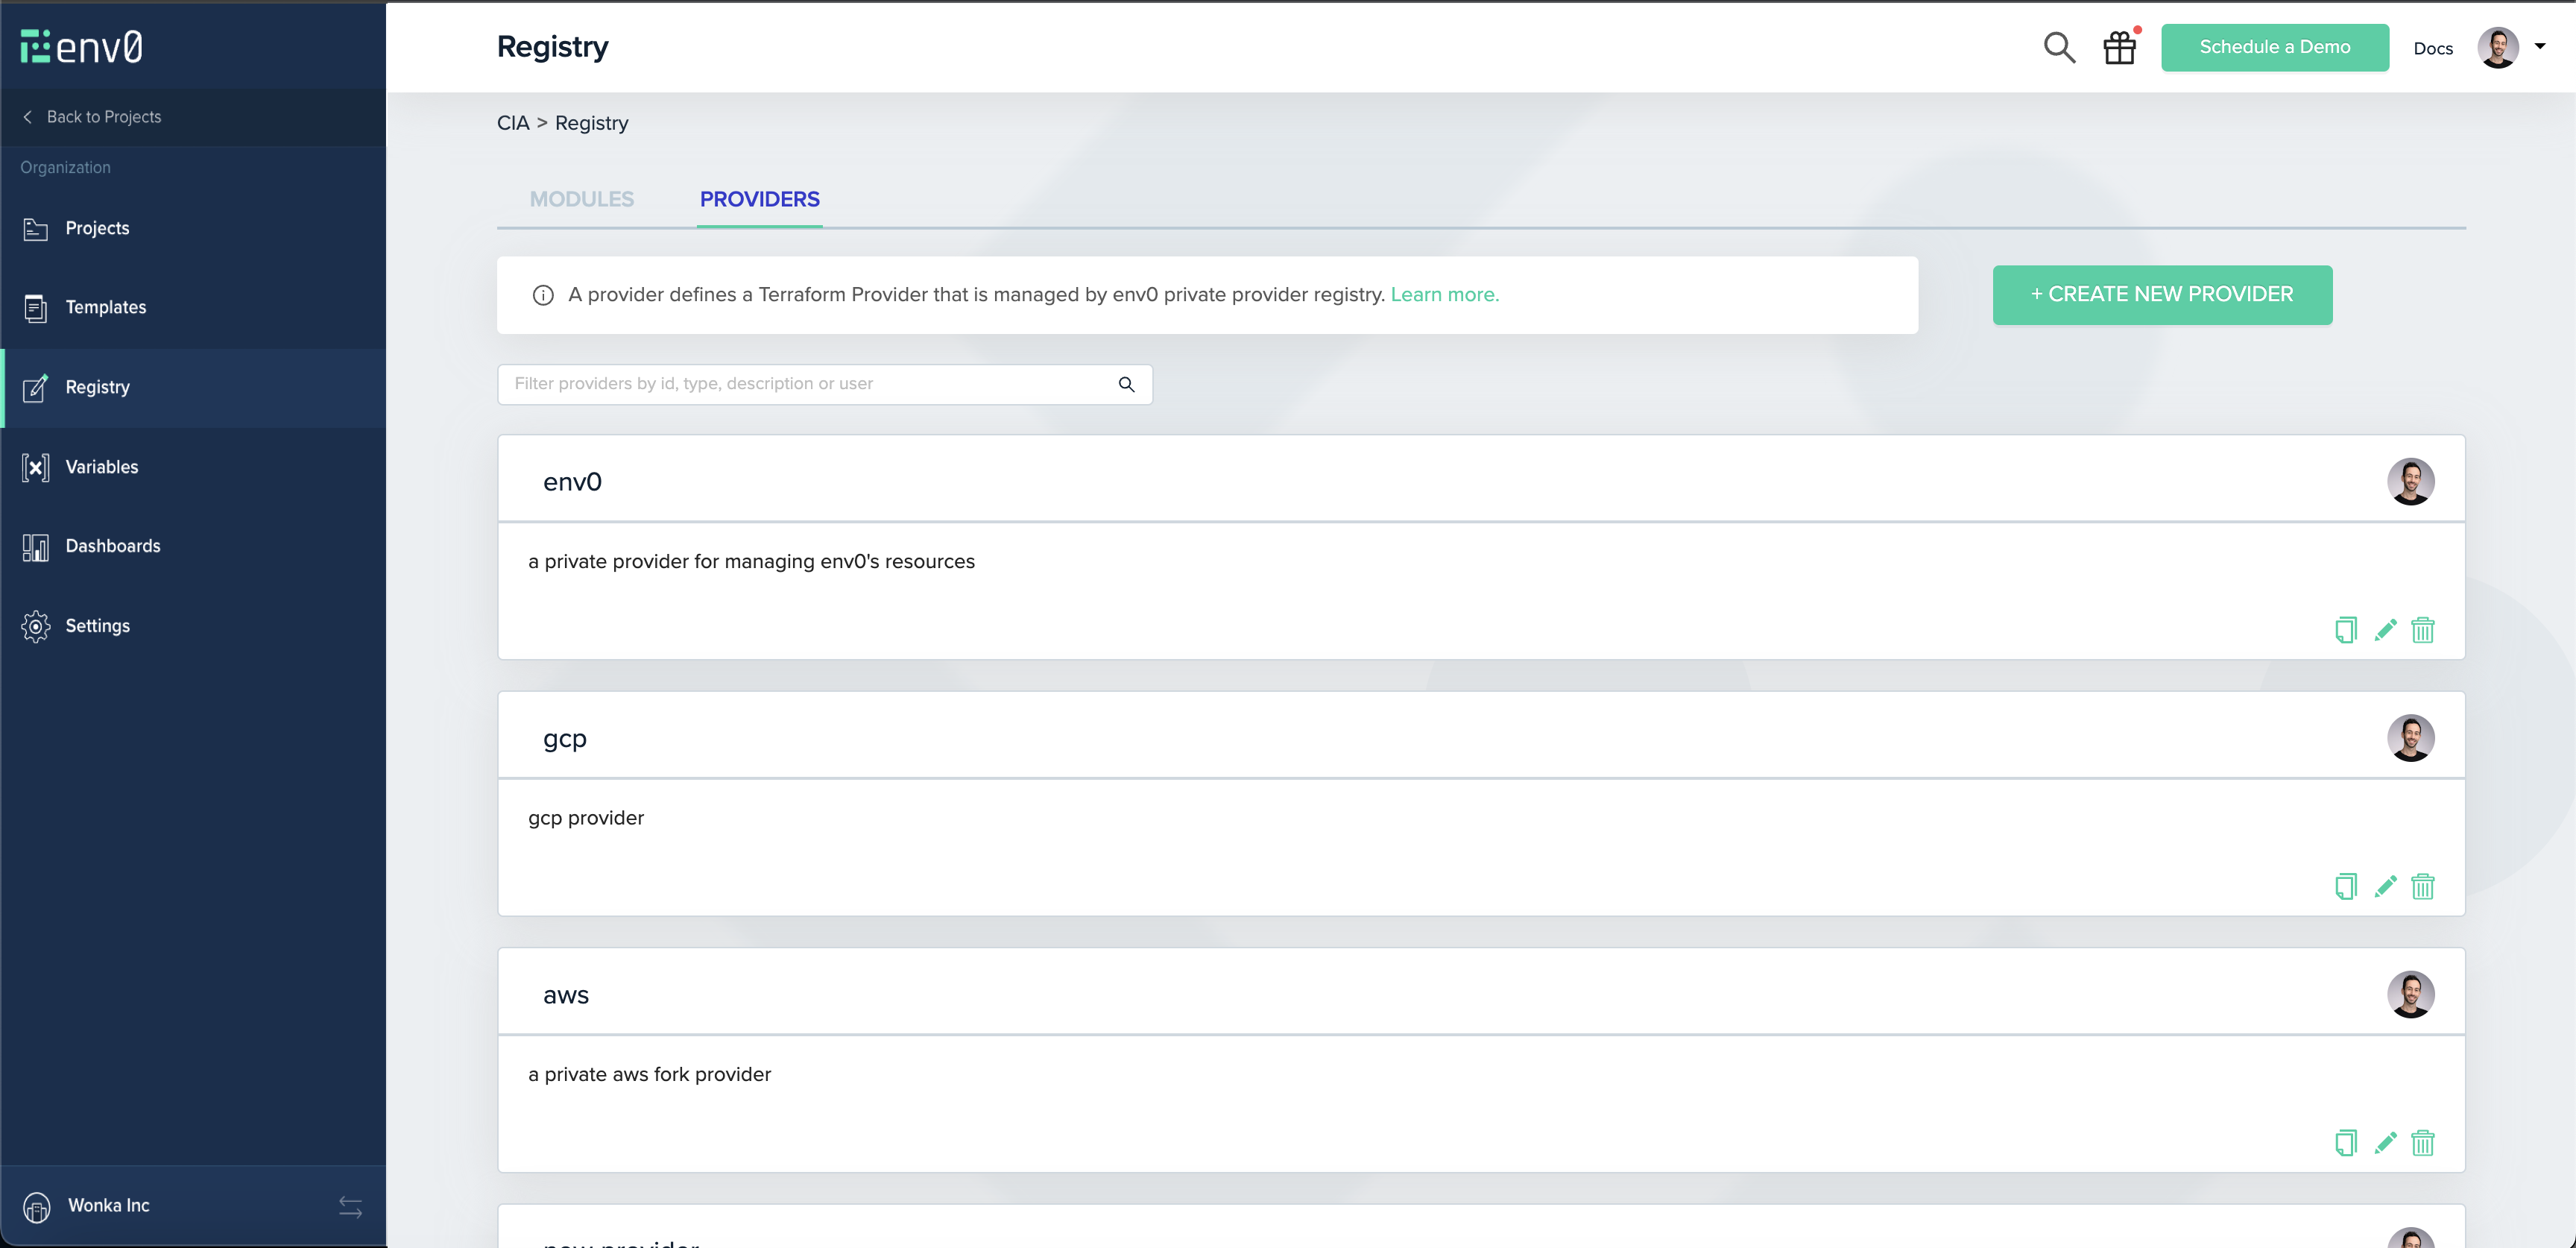
You can access your organization’s provider registry through the Registry link in the left sidebar, and choosing the Providers tab:

Publishing A Provider
NOTEThis guide assumes you already have a provider set up, preferably with
goreleaser.
Creating A Provider
As an env0 admin (or with a custom role with the Create & Edit Providers permission), you should have permission to create a provider.
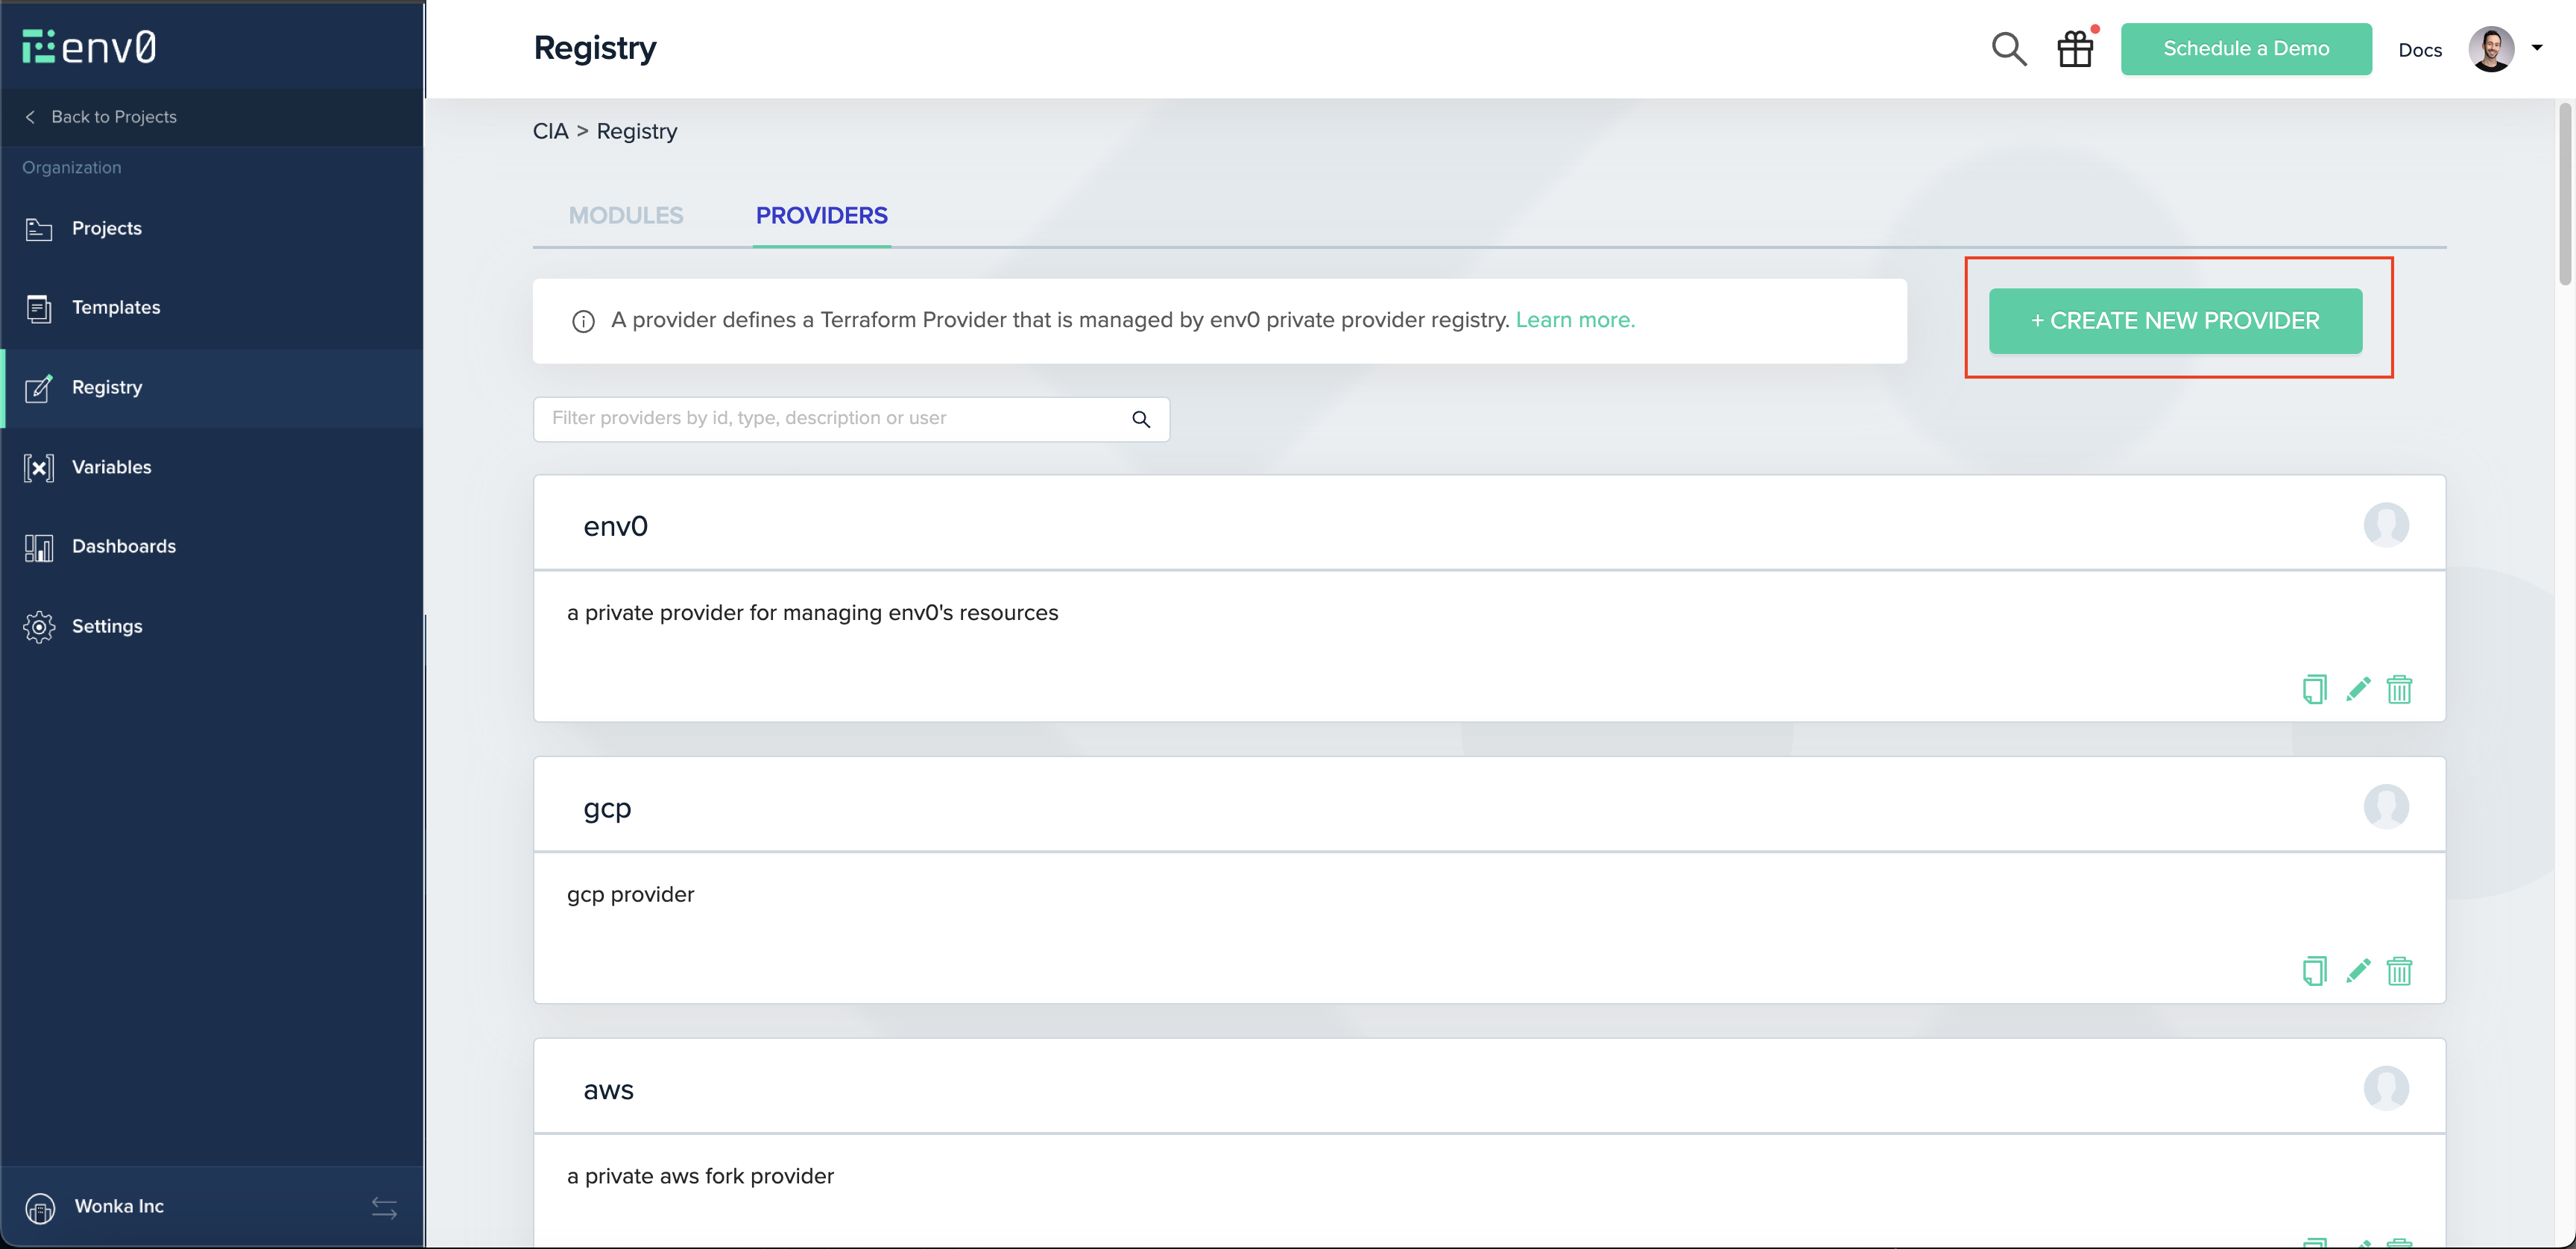
Navigate to Registry on the navigation bar, and click the Providers tab. There you will see the Create New Provider button:

Provider's typeYour provider’s type is essentially its name, and should match your provider’s files. For example, if your binaries look like
terraform-provider-aws_1.1.1_linux_amd64.zip, then your provider’s type should beaws.
NoteYour binaries' names should match this format -
<type>_<semver>_<anything>_<you>_<want>.zip, like the example aboveterraform-provider-aws_1.1.1_linux_amd64.zip
Creating A GPG Key
Terraform uses GPG keys in order to authenticate the identity of the entity that complied and signed the binaries of the provider.
Normally, when creating a release, you should provide goreleaser with your GPG_FINGERPRINT, which should also be set on env0. For more information regarding how to generate your GPG Key, check out GitHub’s guide.
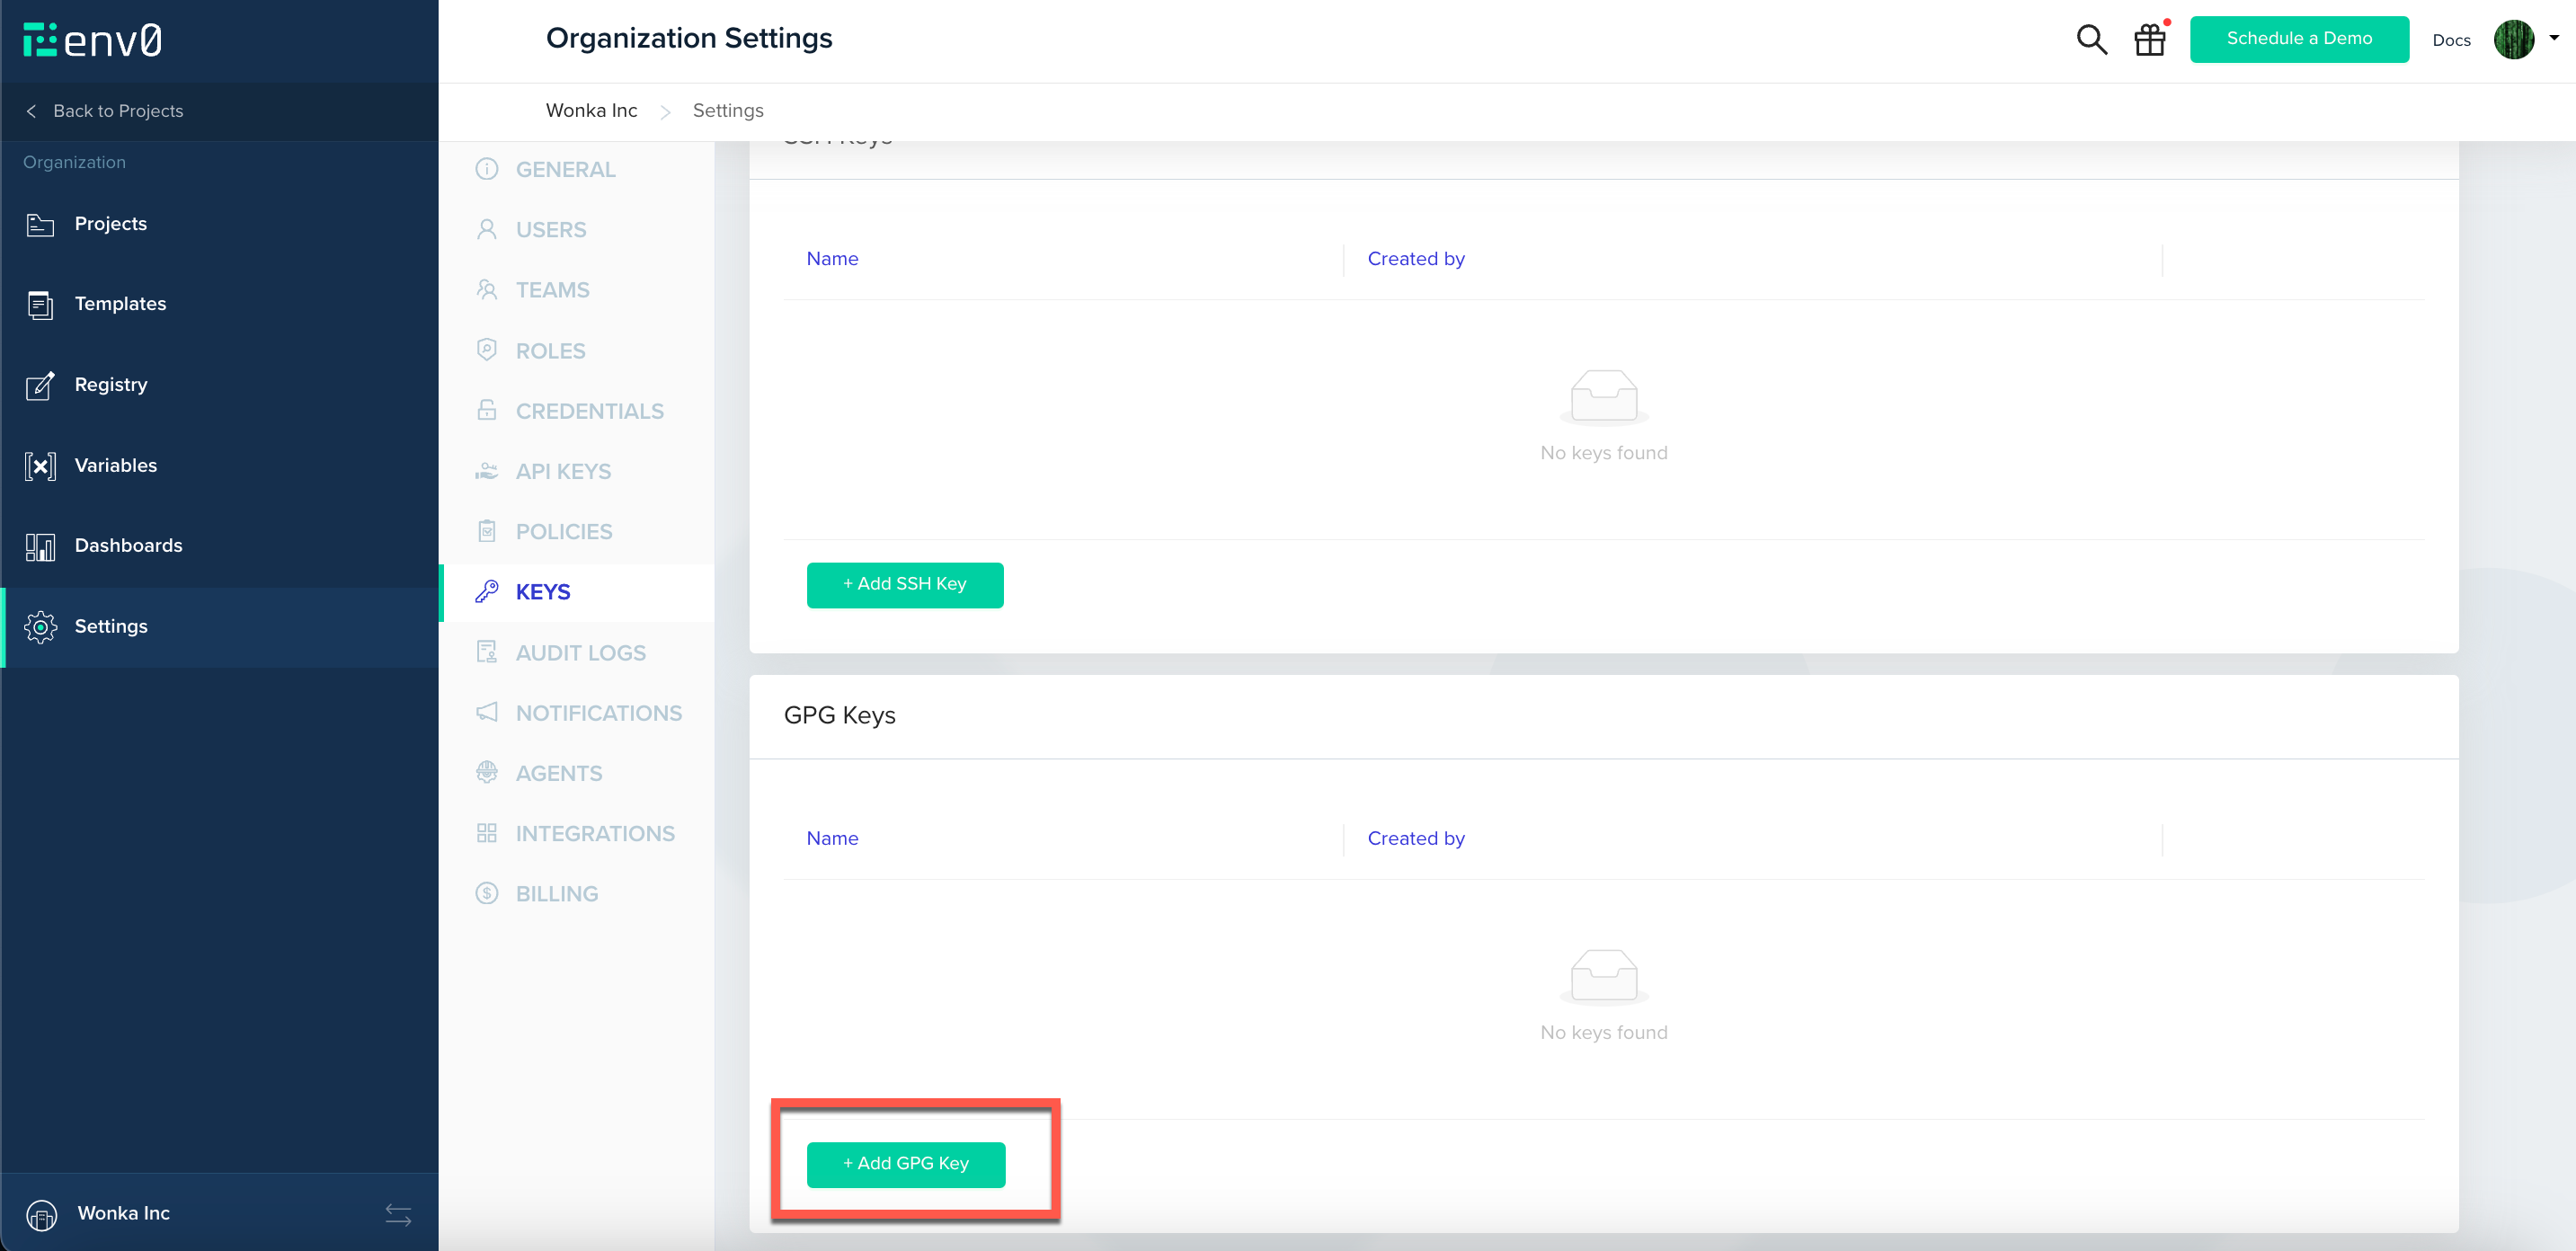
Once you have your key generated, you’ll need to create it on env0. Navigate to Organization Settings > Keys and scroll down to GPG Keys. You will see the Add GPG Key button:

GPG Key IDGPG Key ID is referring to the GPG_FINGERPRINT, the same one you provided
goreleaserwith. its a 16 charecters hexadecimal string, that is calculated by summerizing your key content, and it should be unique per key.
Releasing A Version
As part of your CI you should have a version releaser setup.
Terraform recommends using goreleaser, and so do we. You can make sure your .goreleaser file is configured correctly following this guide by Terraform
Assuming you have a version complied and ready to ship, you will need to upload the binaries you wish to support.
Creating A Version
The first step on the release is creating a version in env0, following the Version API Reference.
Uploading A Version
If creating a version was done correctly, you will receive a URL (valid for 1 hour) to which you can upload your zip, SHA256SUMS and SHA256SUMS.sig files. Note that for each file type you will need a specific content-type header:
zip-application/zipSHA256SUMS-application/octet-streamSHA256SUMS.sig-application/pgp-signature
and then with a simple cURL request:
curl --request PUT \
    --header "Content-Type: $CONTENT_TYPE" \
    --upload-file "$FILEPATH" \
    "$UPLOAD_URL"
To ease the process we suggest using the following script to create and upload all the binaries at once:
#!/bin/bash

# usage: upload-provider-versions.sh <dist_folder_path>

# required environment variables:
# 1. ENV0_API_KEY - env0's api key. you can create one at
# 2. ENV0_API_SECRET - env0's api secretd
# 3. PROVIDER_ID - your provider's ID as created by env0
# 4. GPG_KEY_ID - your GPG key's fingerprint (16 hexadecimal charecters)


# The folder containing the files to upload
FOLDER=$1

# Assert FOLDER argument is passed
if [[ -z "$FOLDER" ]]; then
  echo "Usage: upload-provider-versions.sh <dist_folder_path>"
  exit 1
fi

AUTH_HEADER="Authorization: Basic $(echo -n "$ENV0_API_KEY:$ENV0_API_SECRET" | base64)"

ENV0_API_ENDPOINT=${ENV0_API_ENDPOINT:-"https://api.env0.com"}

function upload_file {
  FILEPATH="$1"
    # Get the filename without the path
  FILENAME=$(basename "$FILEPATH")

  # Determine the content type based on the file extension
  if [[ $FILENAME == *.zip ]]; then
    CONTENT_TYPE="application/zip"
  elif [[ $FILENAME == *_SHA256SUMS ]]; then
    CONTENT_TYPE="application/octet-stream"
  elif [[ $FILENAME == *_SHA256SUMS.sig ]]; then
    CONTENT_TYPE="application/pgp-signature"
  else
    continue
  fi


  # Make the POST request to create a new version
  RESPONSE=$(curl --fail --silent --show-error --request POST \
    --header "Content-Type: application/json" \
    --header "$AUTH_HEADER" \
    --data "{\"filename\":\"$FILENAME\",\"gpgKeyId\":\"$GPG_KEY_ID\"}" \
    "$ENV0_API_ENDPOINT/providers/$PROVIDER_ID/versions")
  # Check for errors
  if [ $? -ne 0 ]; then
    echo "Error creating new version for $FILENAME"
    continue
  fi

  # Parse the response for the upload URL
  UPLOAD_URL=$(echo "$RESPONSE" | sed -n 's/.*"url":[[:space:]]*"\([^"]*\)".*/\1/p')

  # Make the PUT request to upload the file
  curl --fail --silent --show-error --request PUT \
    --header "Content-Type: $CONTENT_TYPE" \
    --upload-file "$FILEPATH" \
    "$UPLOAD_URL"

  # Check for errors
  if [ $? -ne 0 ]; then
    echo "Error uploading $FILENAME"
    continue
  fi

  echo "Uploaded $FILENAME"
}

# Find all files in the folder and run the upload_file function for each one in the background
for FILEPATH in "$FOLDER"/*; do
  upload_file "$FILEPATH" &
done

# Wait for all background processes to finish
wait
That's it! Your first version should be released.
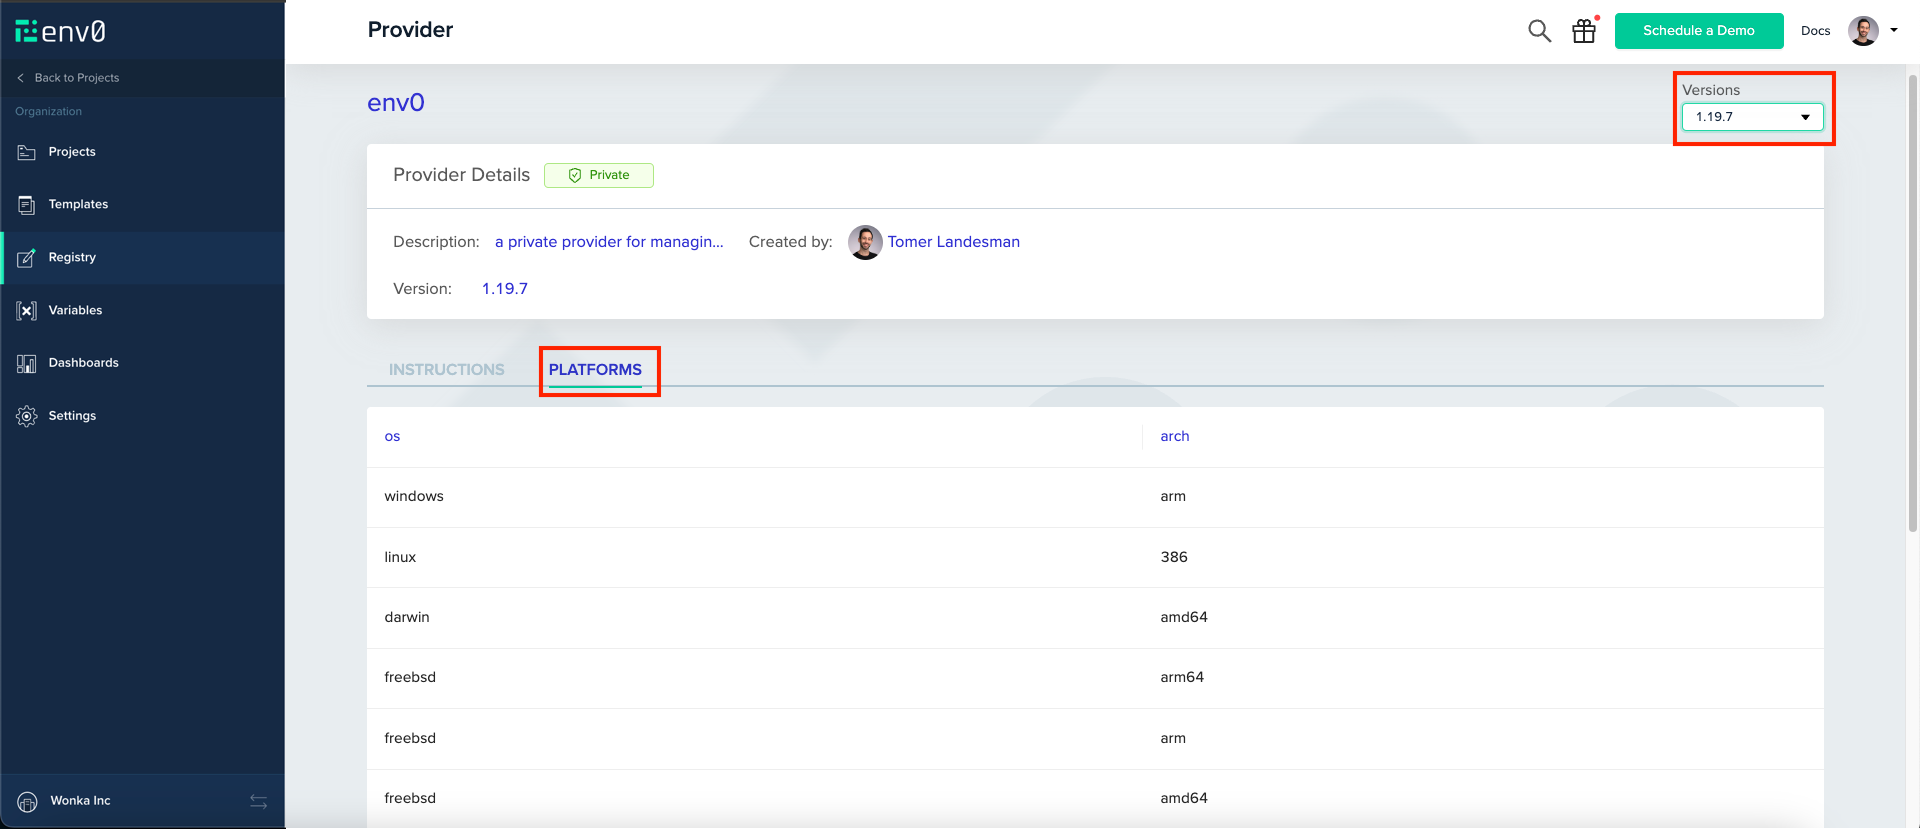
To watch your provider’s versions, navigate to its page on env0 by clicking its card.

On the top right, you can see your uploaded versions. Clicking on versions then navigating to Platforms tab will show you the supported binaries.

Using A Provider
Now that your provider is set up every user in your organization with the View Providers permission (available by default to organization user) can start using it from within env0, or outside of it.
Set up the provider in your Terraform file by copying and pasting the following block.
terraform {
   required_providers {
     <provider-type> = {
       source = "api.env0.com/<organization-id>/<provider-type>"
       version = "<version>"
     }
   }
}
You are all set! You can deploy your Terraform code through env0 and it will deploy as expected.
Outside env0
If you would like to use your provider outside env0, you will have to set up Terraform’s authorization. Follow the guide on how to authorize when using a private registry for more info.
Updated 13 days ago
